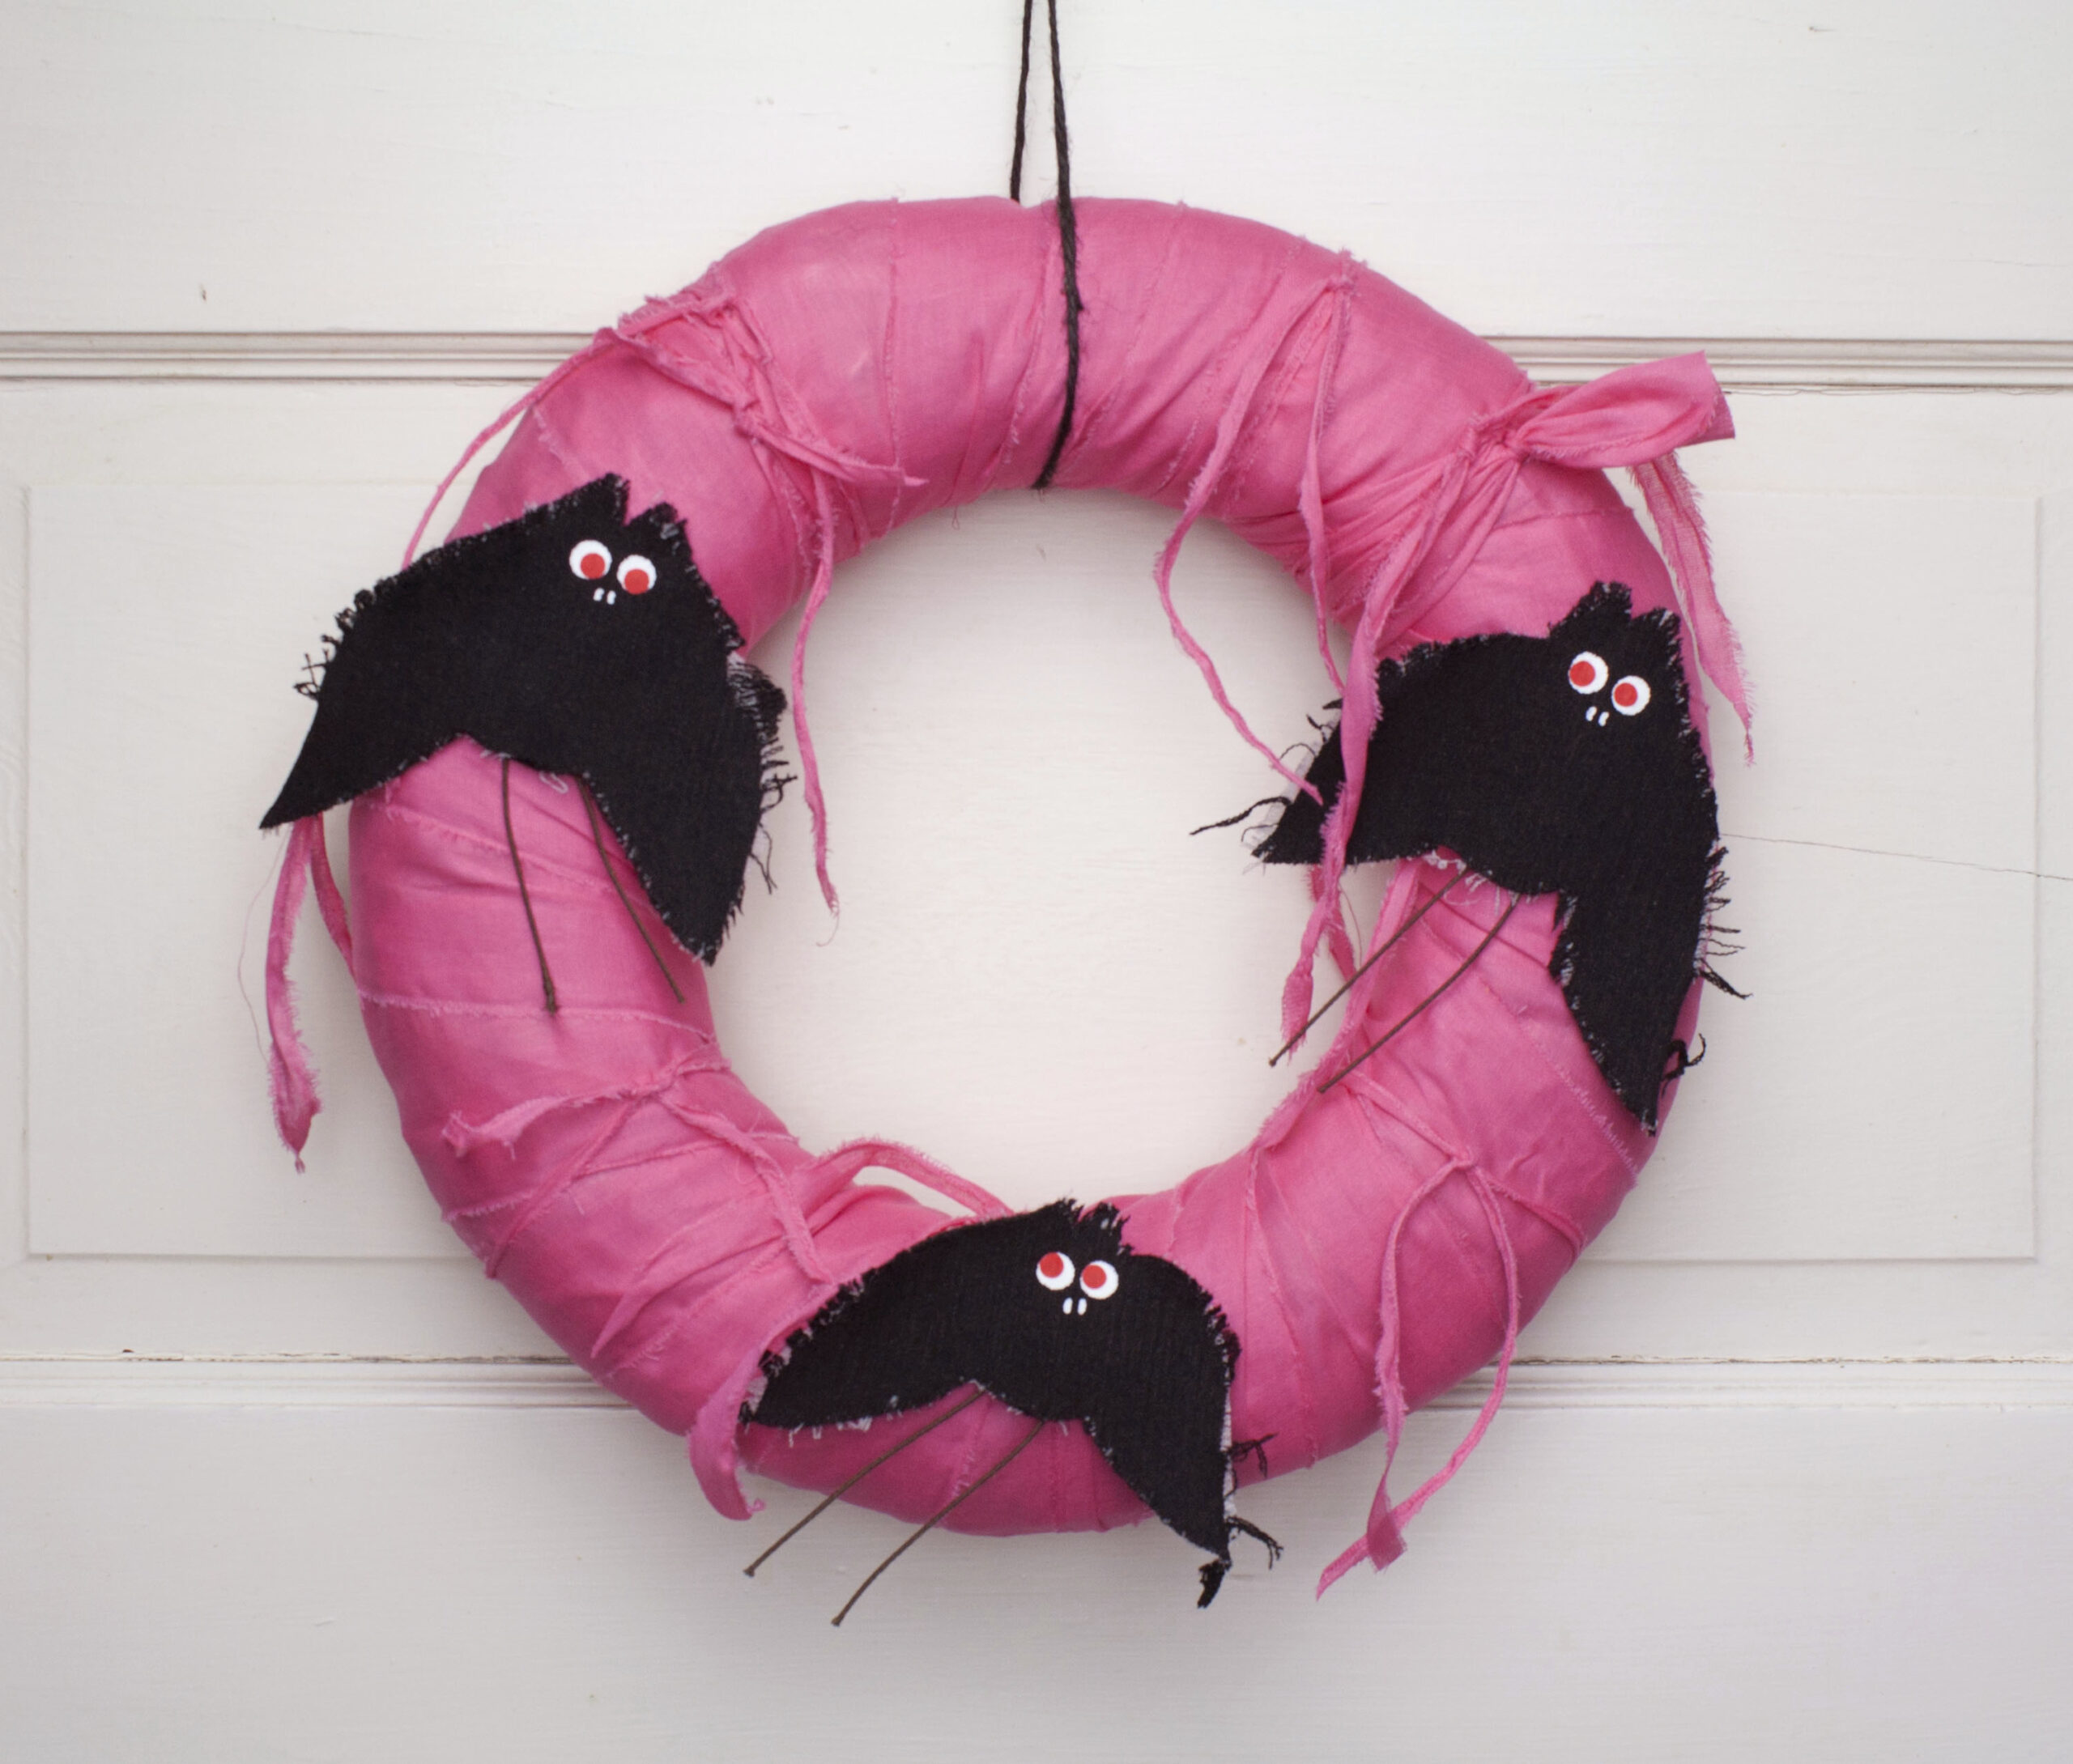
This pink Halloween wreath keeps elements of my original design and incorporates bold color. Because, I know I am not the only one who loves pink & Halloween!
New For Fall
This is a brand new option I am adding just in time for Fall decorating.
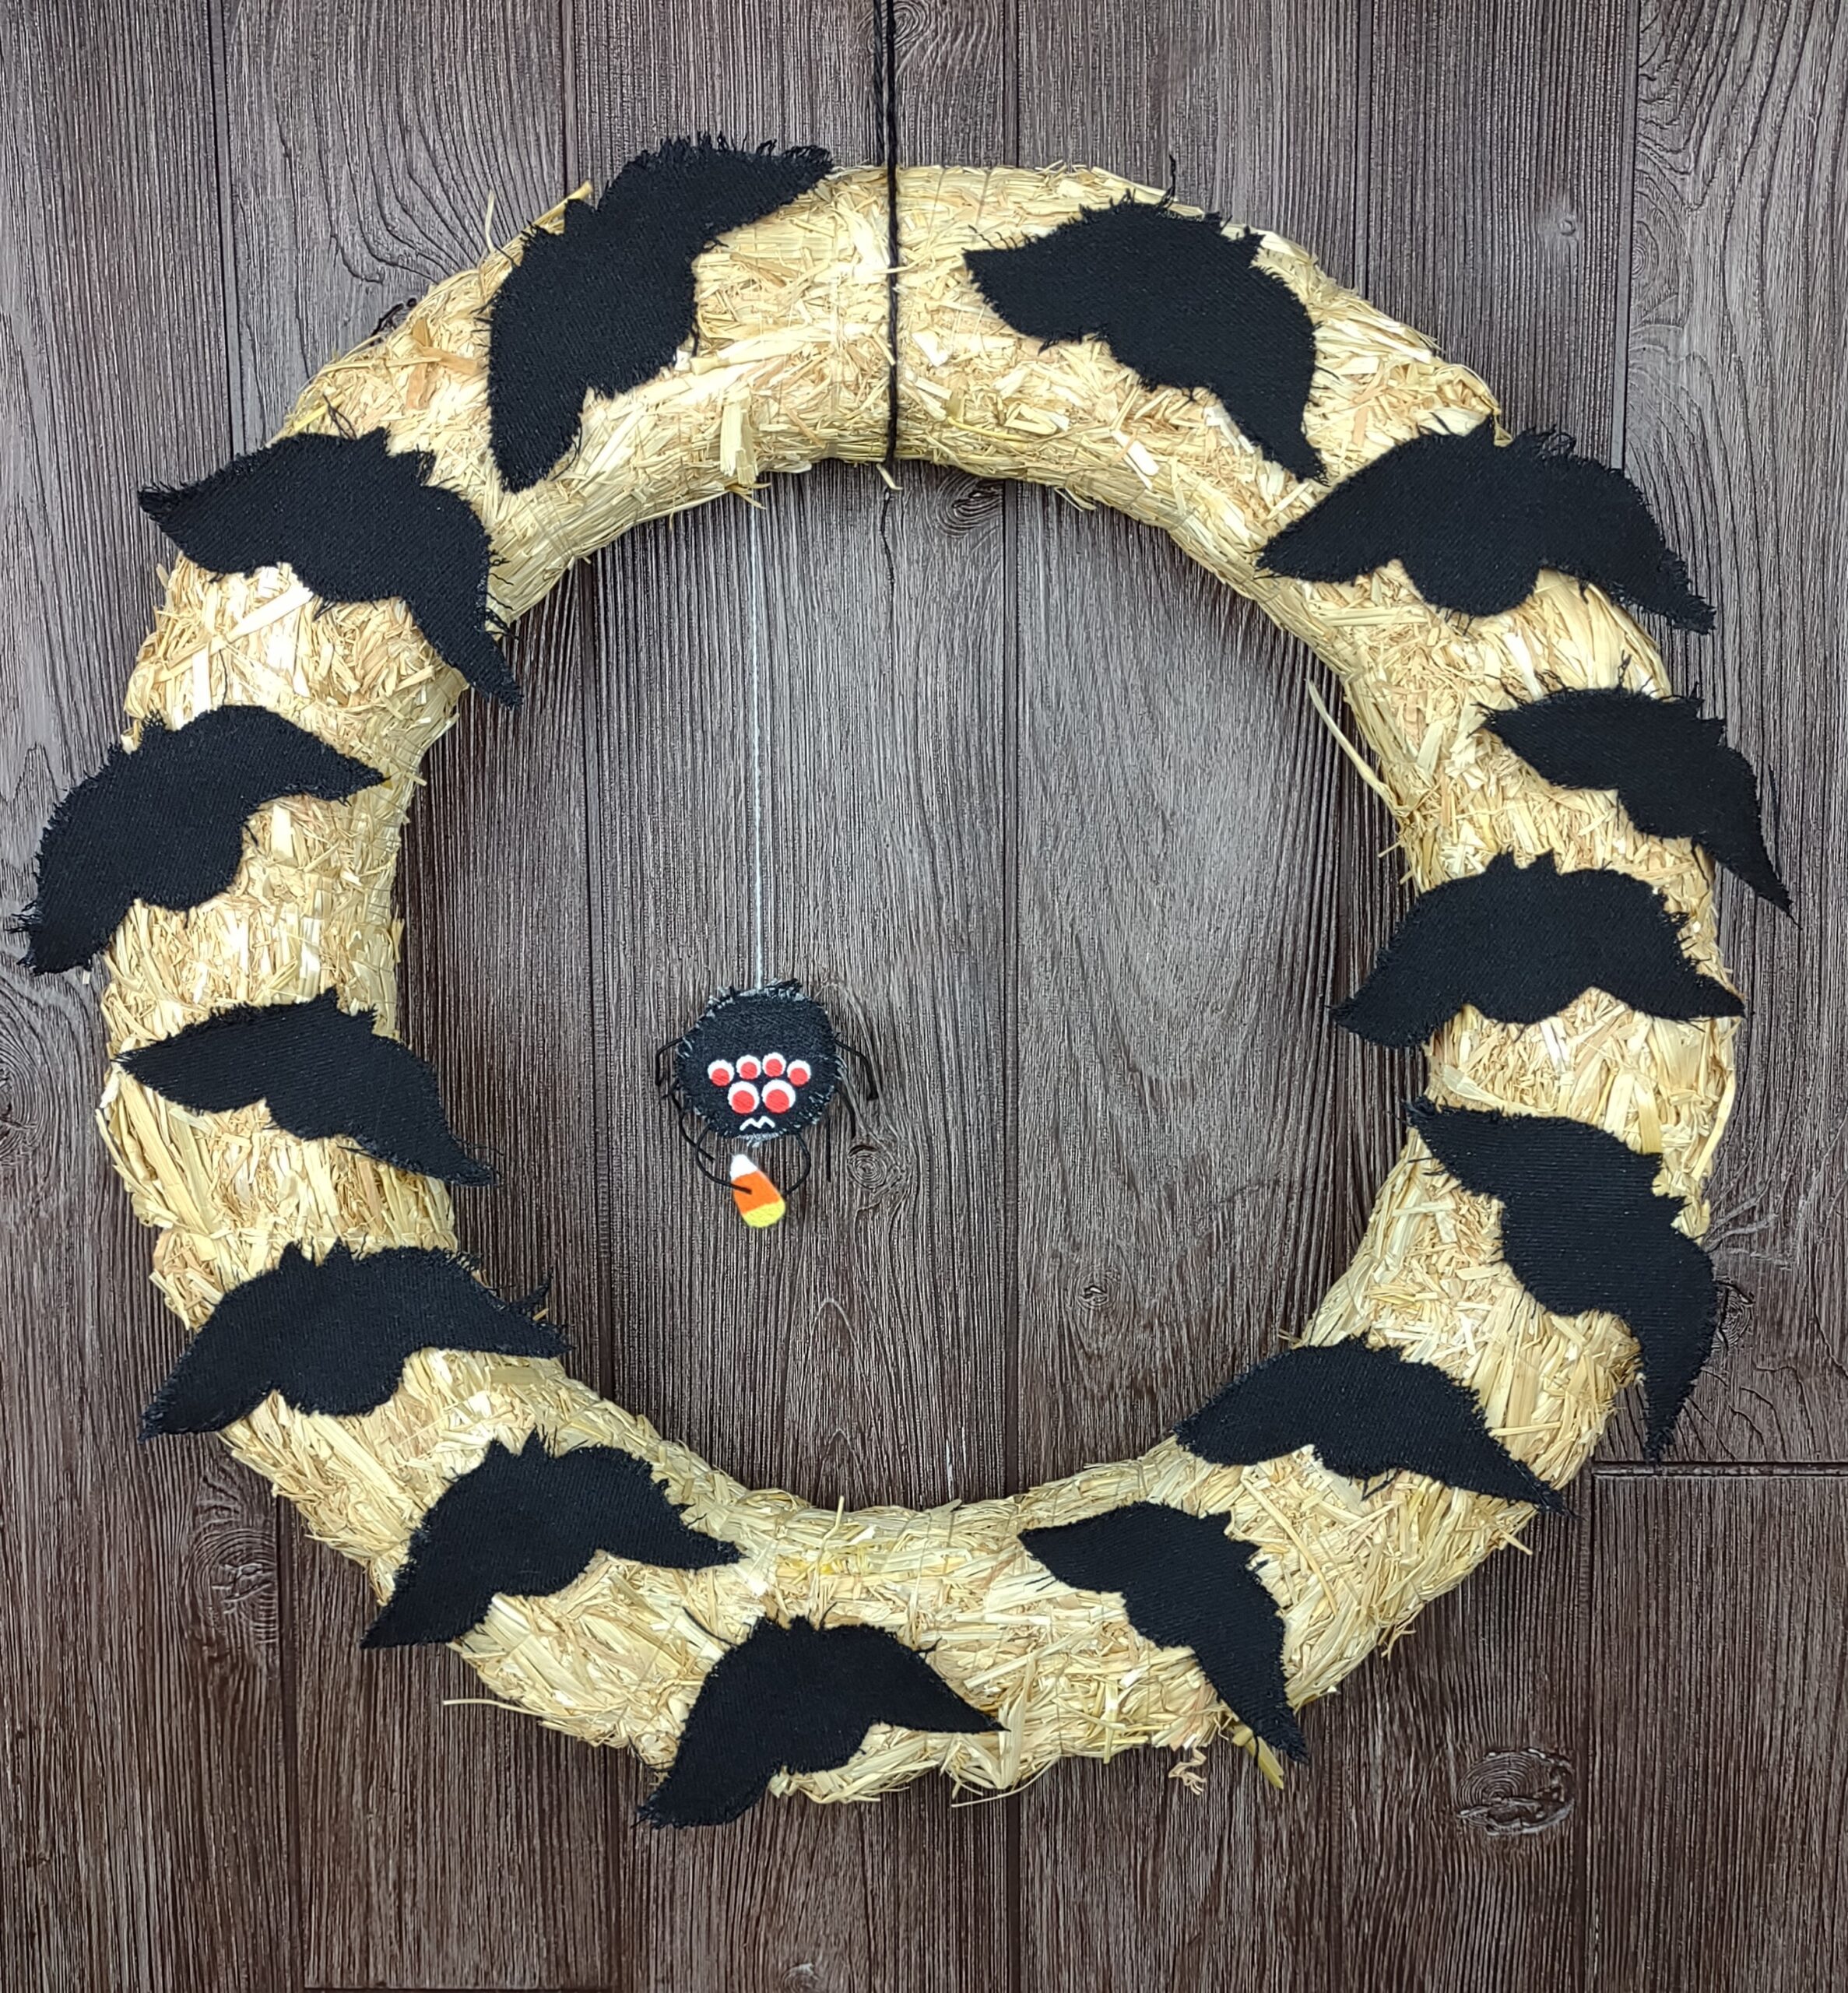
I was recently inspired to create a new Halloween wreath featuring bats, of course. But, I also wanted to add a spider and let hm take center stage. Spiders are often a theme in Halloween decorations. But, my spider was inspired by actual events – really! Recently, my significant other witnessed a mud dauber flying along, carrying a globe spider. We call them globe spiders, but I think they are actually named orb weavers. Anyway, mud daubers paralyze spiders and whisk them away to their mud houses and stuff them inside. A terrible fate for the poor little spider. So, I thought I’d give my little spider a nice day, scoring a sweet treat!
I’m really happy with the way this wreath turned out and is already inspiring ideas for future wreaths!
The base of this wreath is a lovely biodegradable 18″ straw wreath. It’s good to repurpose when possible, so the bats and spider are cut from old black jeans. After cutting them out, I like to distress my critters a bit too, I just like the effect it produces. The bats are glued to the straw base in random fashion and Mr. Spider dangles inside the wreath holding a piece of candy corn. Spider in constructed from denim and has a painted face. His legs are made from painted fabric wire and his candy is painted felt. Because he swings a bit and may get turned around, I finish his back with black denim so he looks cute from behind as well!
If you are interested in having this wreath made, please contact me for availability.
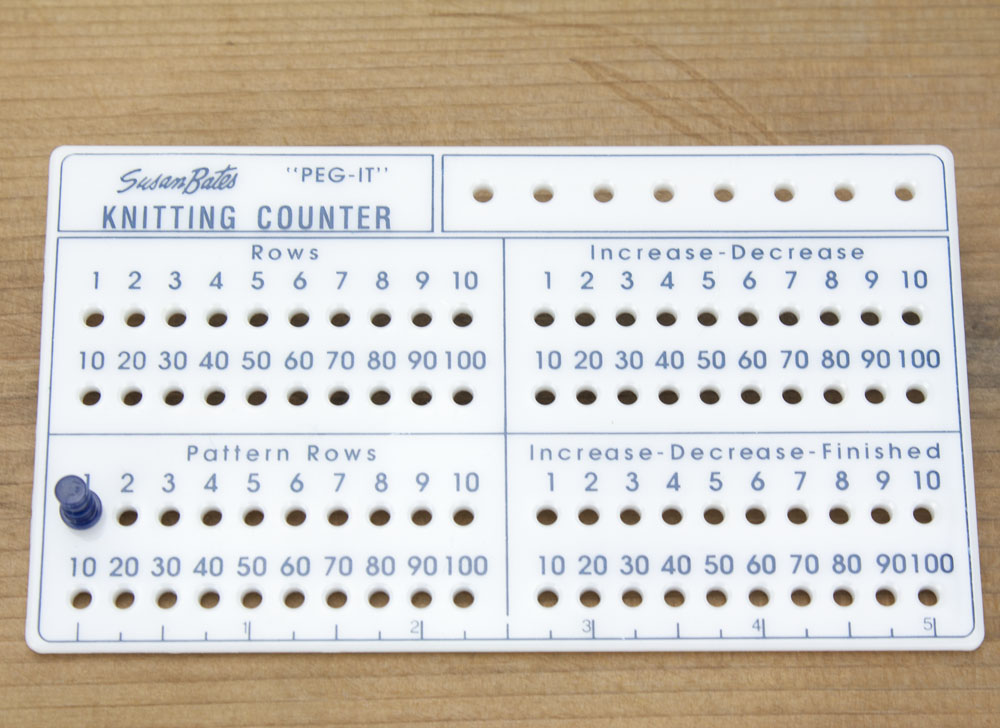
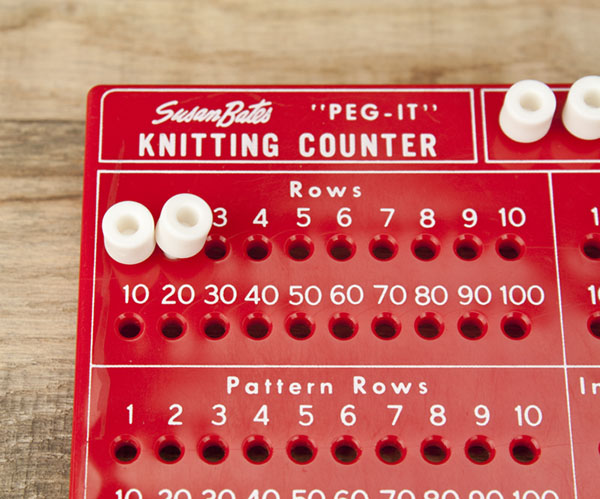
If you have a Susan Bates Peg-It counter, but aren’t quite sure how to use it, then this post is for you. Below, I explain the different sections of the Peg-It and how they are used. I’ve also included photos for you visual learners out there!
How to use PEG-IT Sections
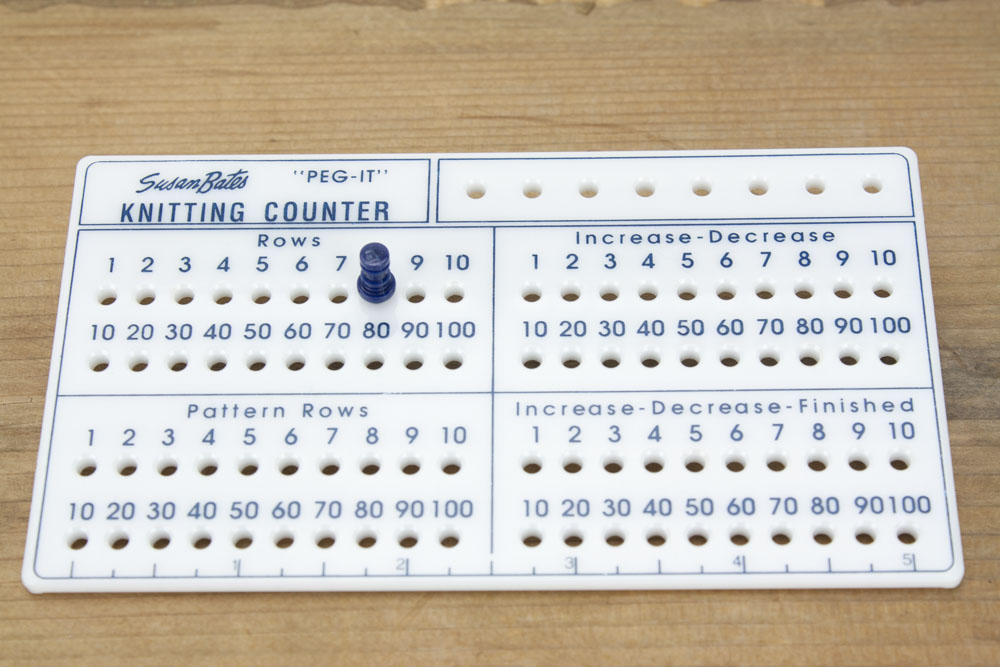
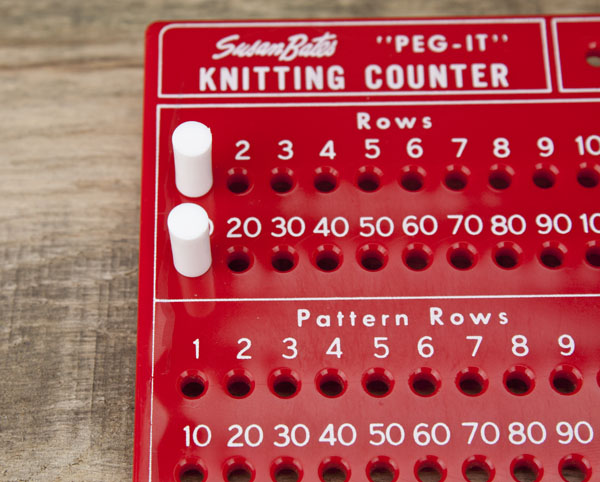
Rows:
Use this section to count finished rows of knitting or crocheting. For example, if your instructions tell you to “k1,p1 for 8 rows”. Then, you should place a peg in hole #1 after the 1st row has been completed. As you finish a row, move the peg over 1 hole until all 8 rows are finished. To count more than 10 rows, you’ll need 2 pegs. The bottom row, numbered 10-100, records groups of 10. So if you’ve completed 34 rows, you’ll have one peg in the 4 and one peg in the 30.
Place a peg in the hole corresponding to the row number you’ve just completed.
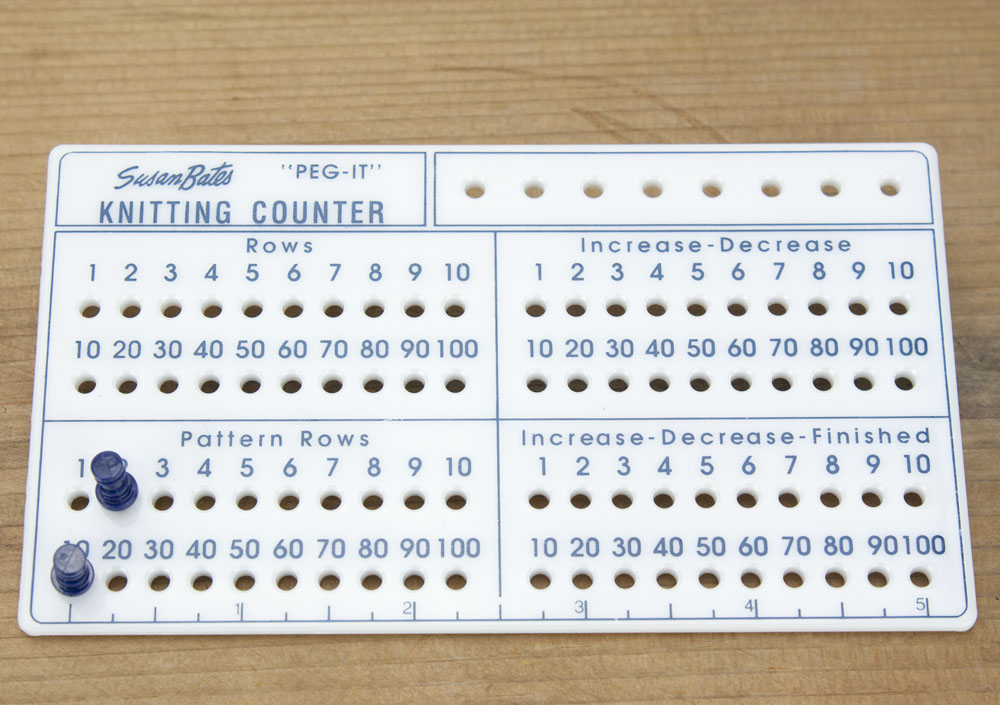
Pattern Rows:
Use this section to record rows of a certain pattern. For example, say you are working a cable stitch that has 12 rows to the pattern, as each row of the “pattern” is completed, move a peg over one hole. When the 10th row is reached, 2 pegs are used until the 12 rows of the pattern are finished. When the 13th row is finished, (Row 1 of the “pattern” ) place the peg in hole #1 to begin counting the pattern rows again.
Counting pattern rows – 12 rows of the pattern finished.Repeating the pattern – with the 1st row of the pattern repeated, peg is in hole #1 to begin counting the pattern rows again.
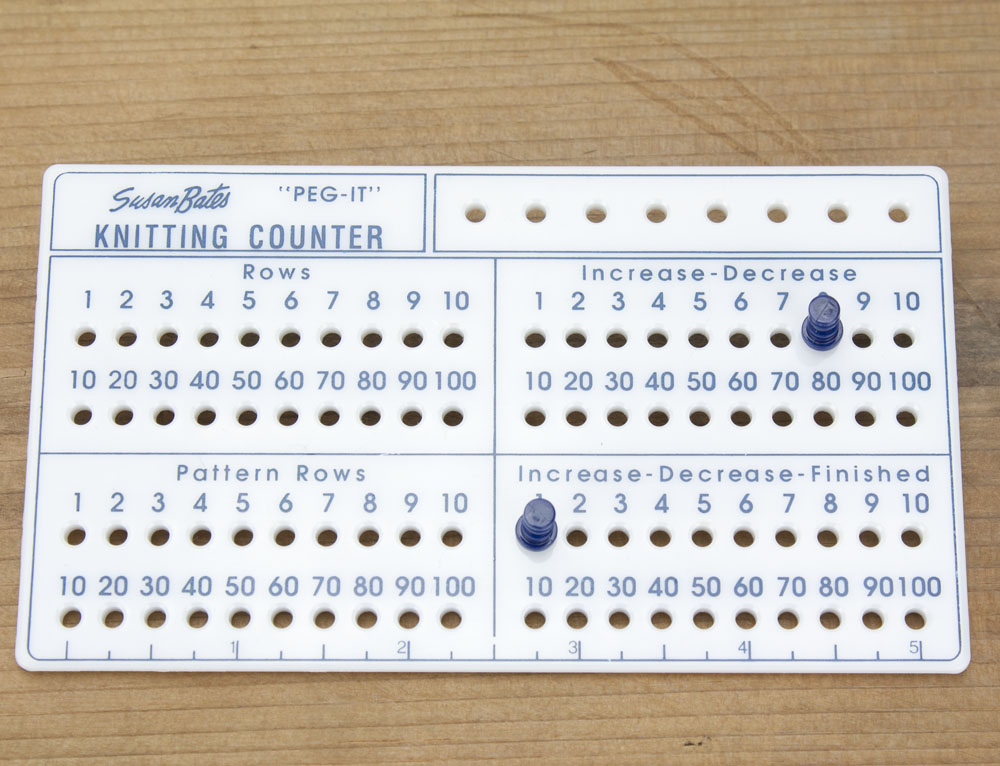
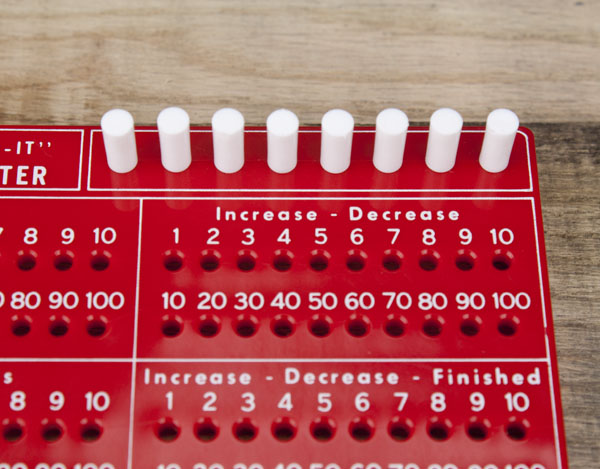
Increase – Decrease and Increase – Decrease – Finished:
These sections are used to count either increased or decreased stitches. For example, your instructions may say “decrease 1 stitch every 8th row 6 times”. Place a peg in hole #1 of the Increase – Decrease section after the 1st row of the 1st group of 8 rows is finished. Continue moving this peg over one hole as each new row is finished. When the 8th row is completed, place a peg in hole #1 of the Increase – Decrease – Finished section. As each group of 8 rows is completed move the Increase – Decrease – Finished peg over one hole until the 6 decreases have been completed.
Decreasing 1 stitch every 8th row 6 times – 8th row complete.Decreasing finished.
I hope these instructions were helpful to you! You may also be interested in my post about replacement pegs for the Peg It.
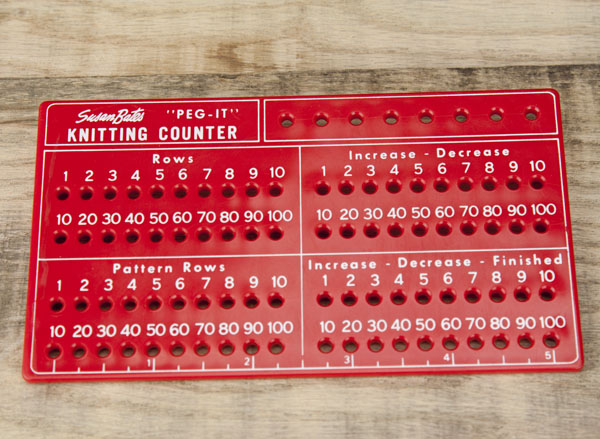
If you have your old Susan Bates Peg-It, but have lost some or all of your pegs, don’t despair! I discovered a substitute for those pegs, that you may have stashed away in your home right now.
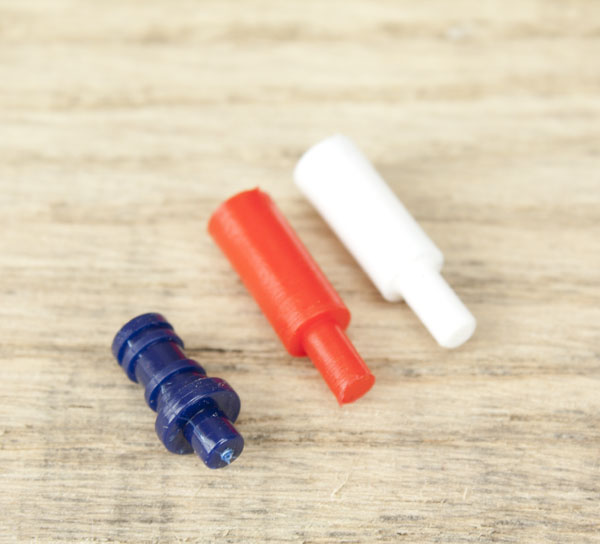
The blue peg below is the original peg that came with my Susan Bates Peg It knitting counter. The white & red pegs came from an old Battleship board game, not the electronic version (I’ll get to that later).
Blue peg from Susan Bates “Peg-It”. Red and white pegs from Milton Bradley’s Battleship board game.
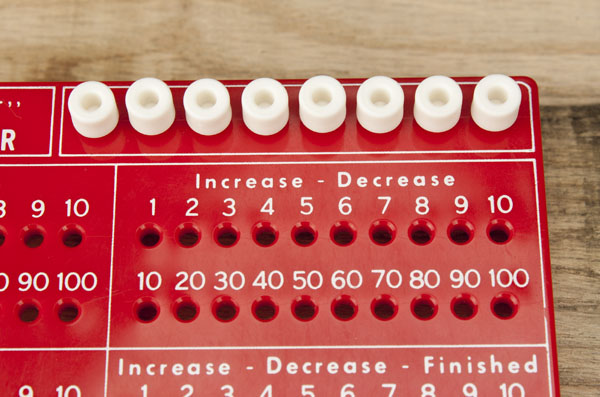
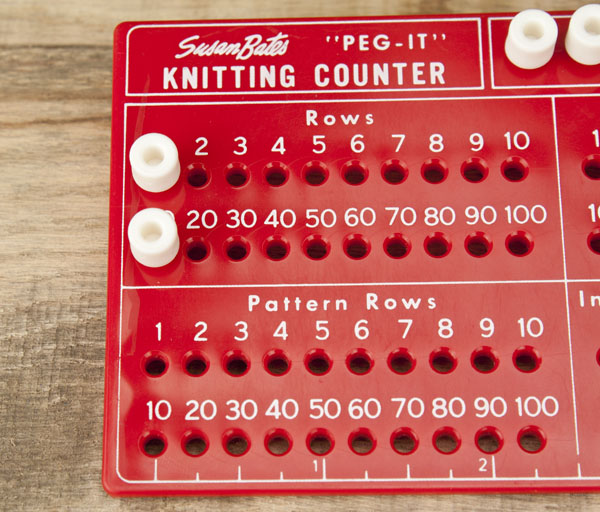
The pegs fit nicely in the “storage row”.
“Peg It” with white pegs from Battleship board game.
And they fit in the counting areas without any trouble.
I actually like the Battleship pegs better than the originals because they are easier to push into the board, and remove. They hold in place well. Even, when I turned the board upside down and gave it a little shake, the pegs did not fall out. However, I would not throw it into your knitting bag & travel around, they are likely to come loose.
Since the Battleship board game pegs worked so well, I thought I’d give Electronic Battleship pegs a go. Below, is the blue peg from my Peg-It & the white peg is from Electronic Battleship
White peg from Milton Bradley’s Talking Electronic Battleship. Blue peg from Susan Bates’ Peg-It.
The pegs from Electronic Battleship fit nicely side-by-side in the holding area. And, they work just as well underneath one another. They won’t fit side-by-side, but since you would never need to do that, it’s really not an issue. These pegs have a snugger fit, so they stay put very well when the board is “tossed” around. They are also easy to insert and remove from the board.
Knitting counter with Electronic Battleship game pegs.
I hope this post helps you put your old Peg It back into commission. If you don’t have this game in your closet, your local thrift store is a great place to find it. You could also try flea markets and yard sales.
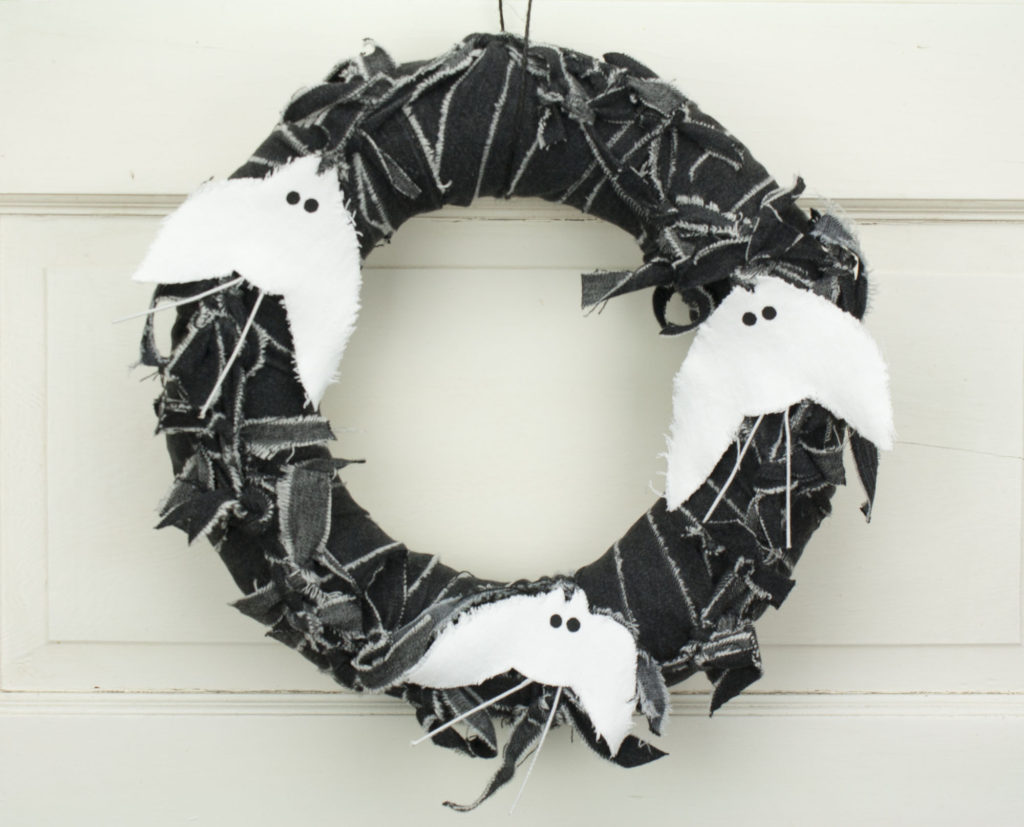
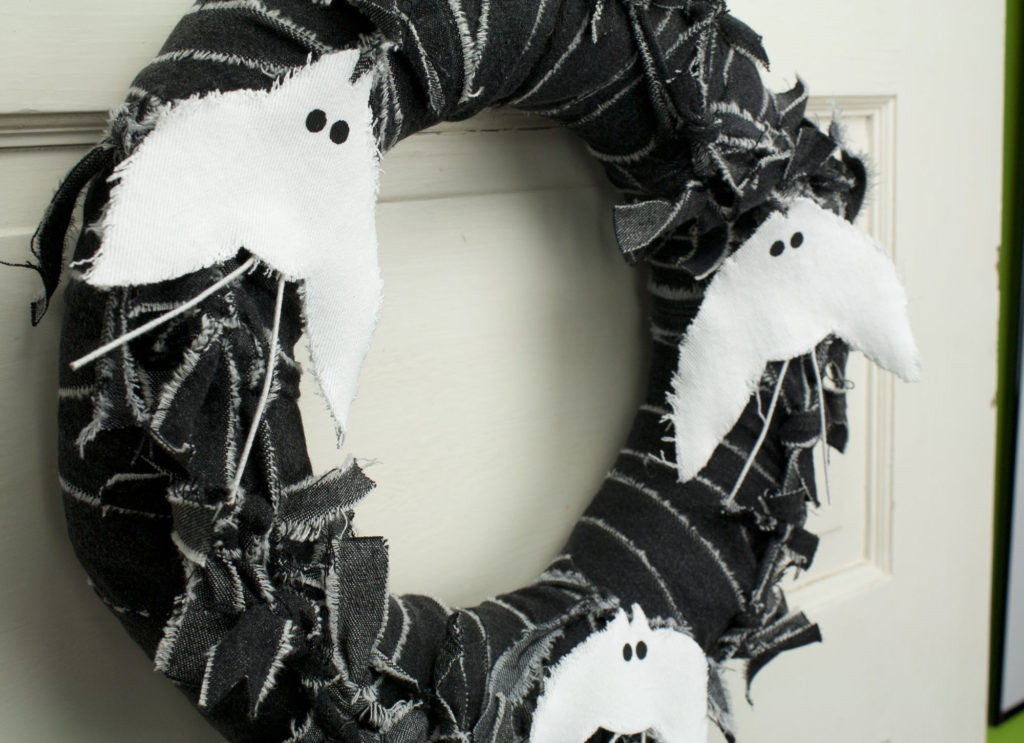
Be one of the first to get this wreath! Ghost Bat Wreath is a brand new design, and I am excited to introduce it to you for your decorating pleasure this Halloween.
12″ Ghost Bat Wreath
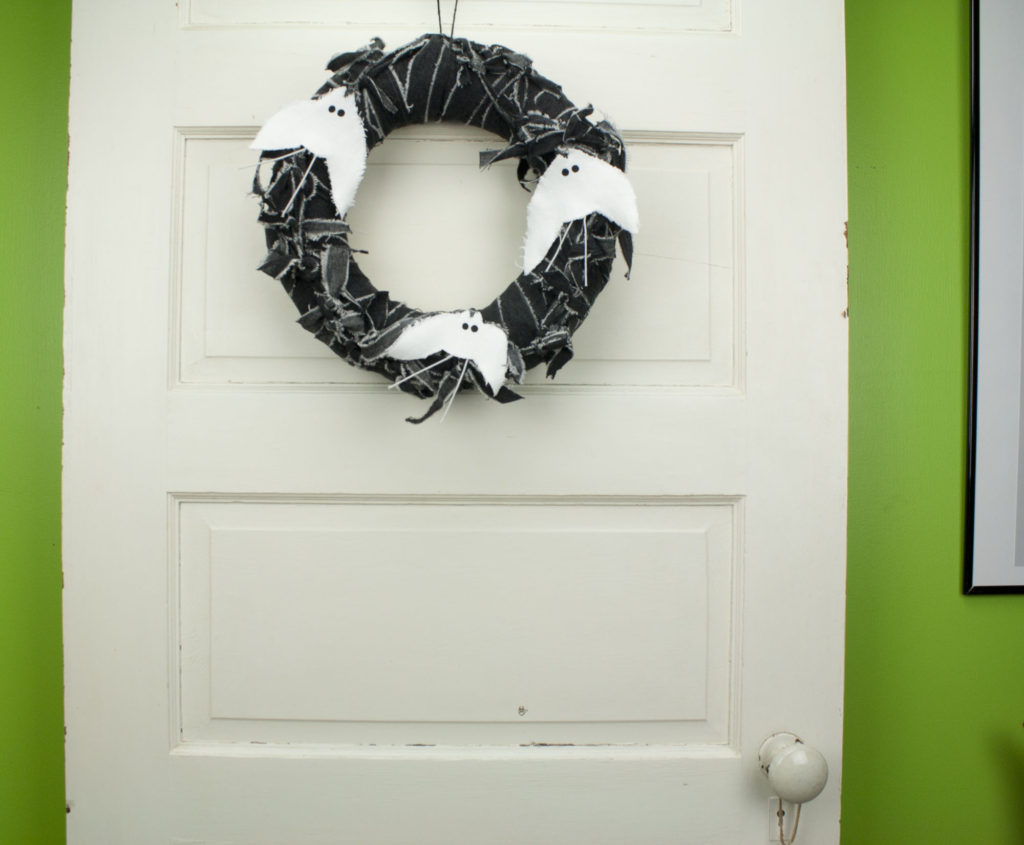
Ghost Bat Wreath is a 12″ hand-tied black denim wreath. And, I’ve decorated it for Halloween with a trio of my mischievous little Ghost Bats.
It’s earth-friendly! Made with a biodegradable straw base & recycled denim.
This wreath is about 12″ wide x 2.5″ deep (30.5 x 6.35 cm). But, I can create larger, and even smaller versions of this wreath. Contact me for pricing and availability.
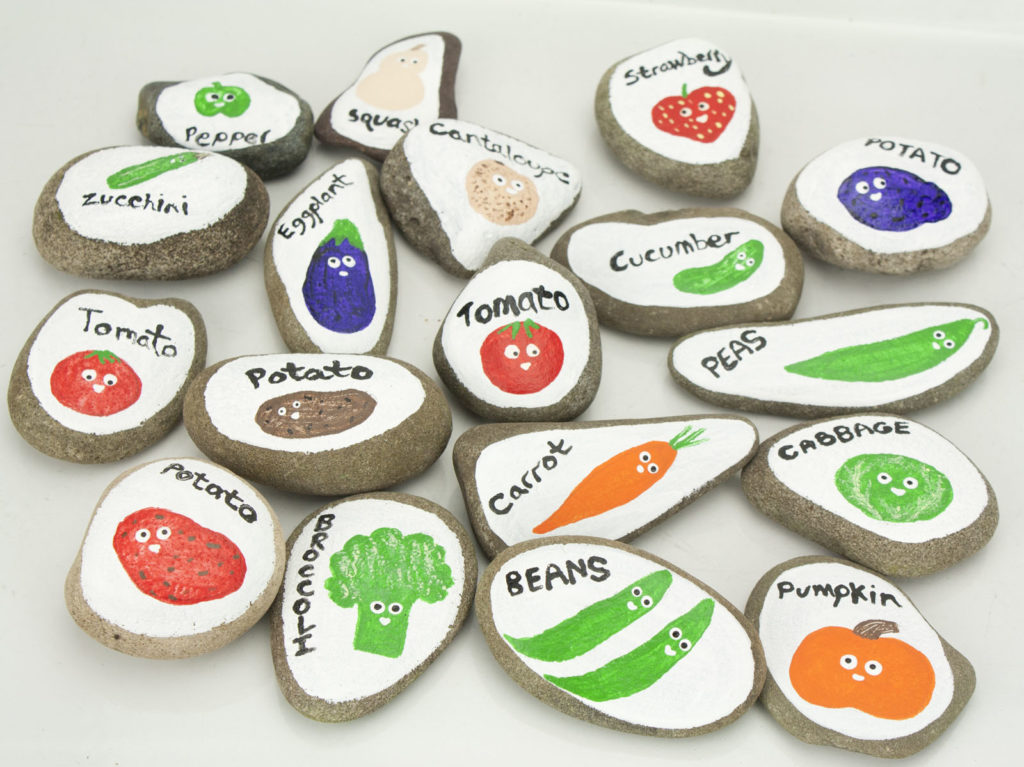
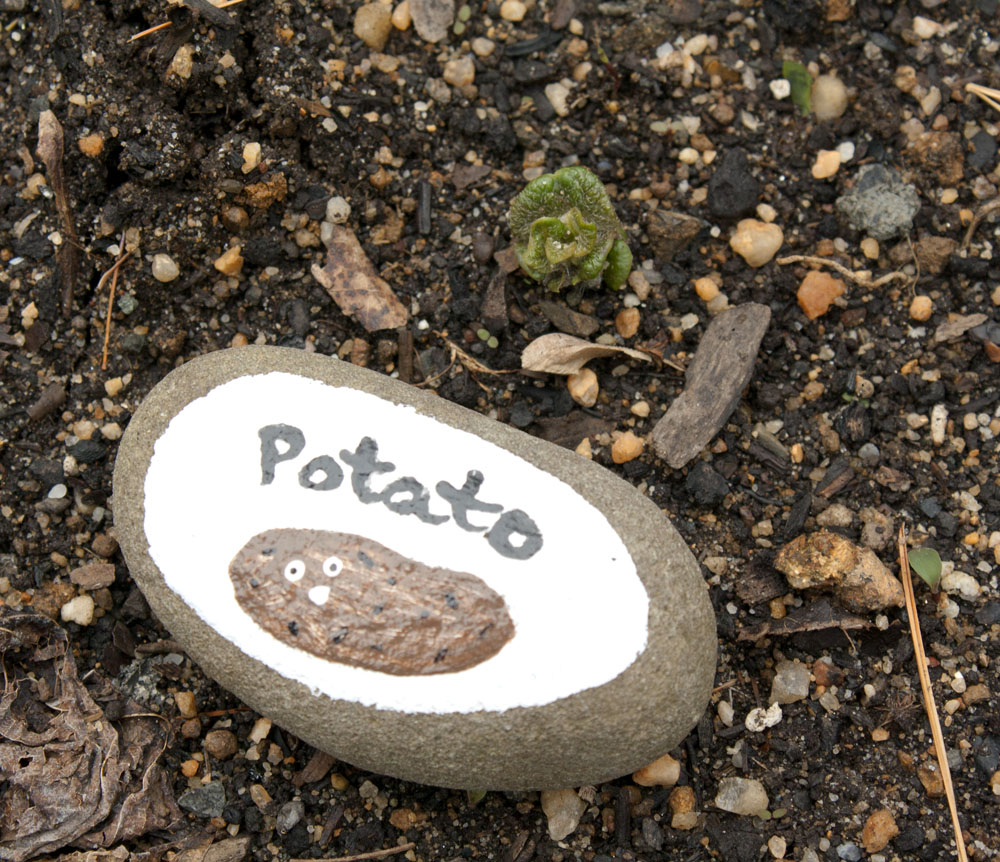
Now that Spring is here, my garden is giving me lots of inspiration. I painted these river rocks with all sorts of different veggies, (and fruits). Lots, are vegetables that I actually plan to plant. Some, I just made because I couldn’t stop! I’ll put them in front of my little seedlings to remind me just what the heck I put in the ground. These were so much fun to make, I’d like to make some for my perennial flowers too!
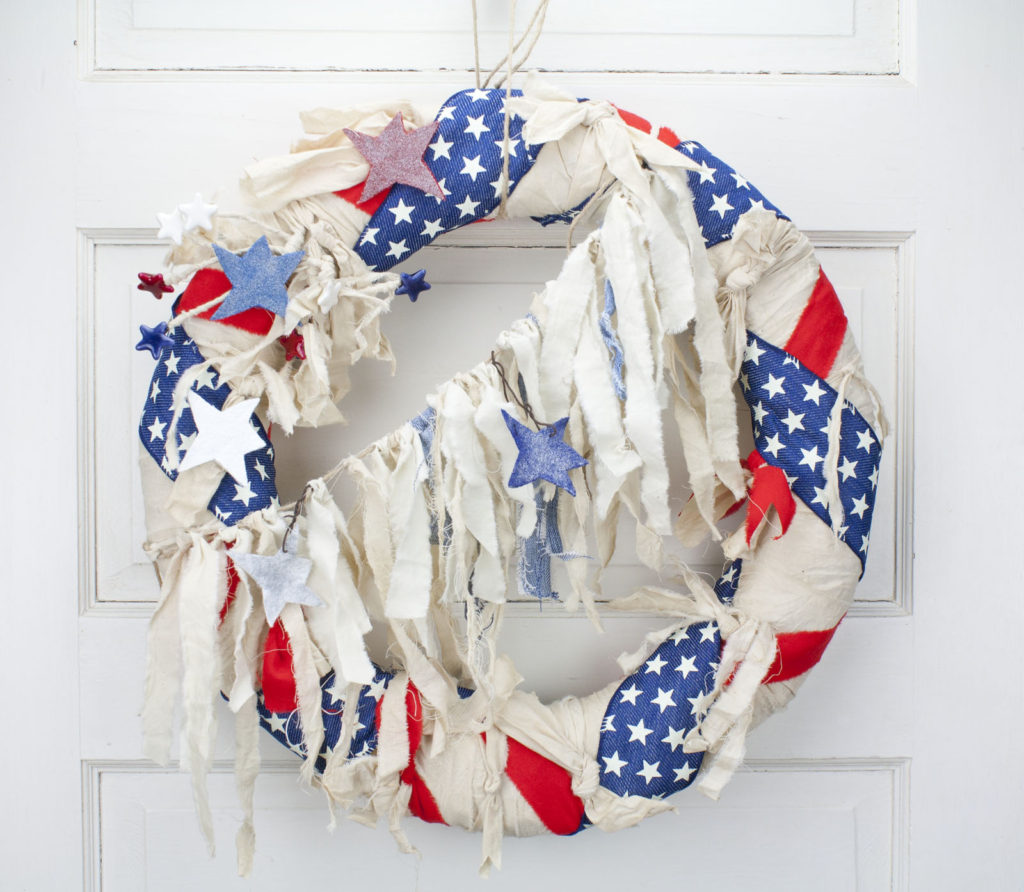
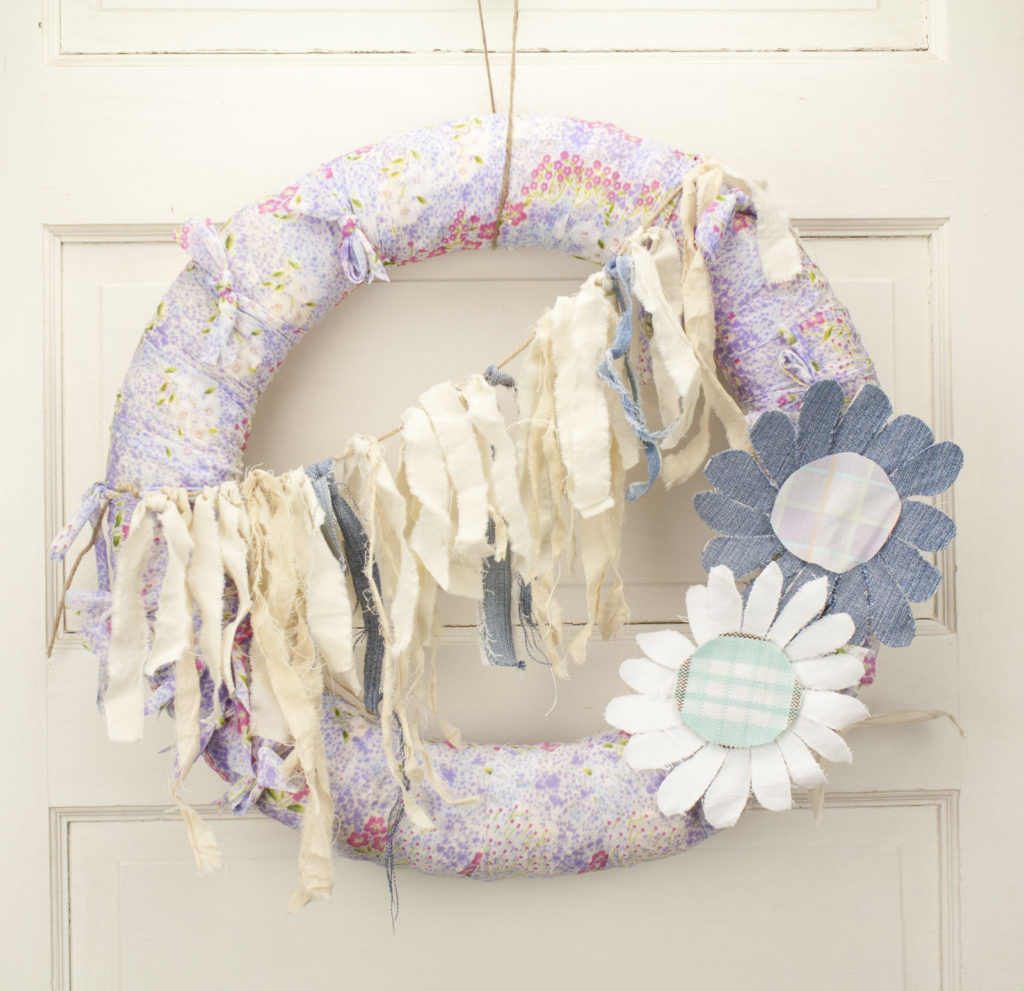
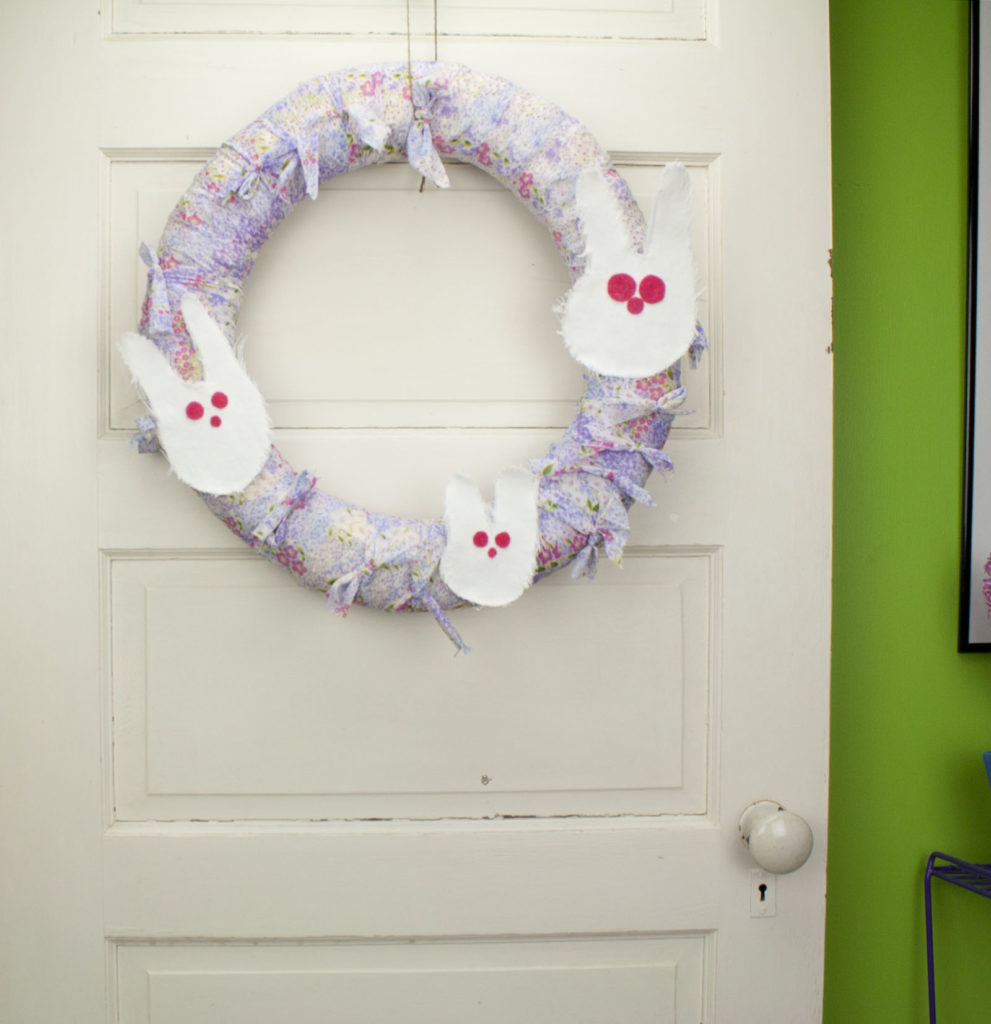
Easter Bunny Wreath is a new design I finished today. I don’t make too many Easter wreaths, but I think my heavenly-smelling hyacinth that just started blooming inspired me. I used some really pretty Springy fabric & wrapped an 18″ wreath in it.
I’m offering this one locally, because I don’t stock boxes for such a large wreath. I’d have to make one, which is very time-consuming! If you like this wreath and are not local, I can make a smaller one. I only have a tiny amount of this fabric, so don’t wait. If you want the large one, I will make a shipping box if I know I have a buyer.